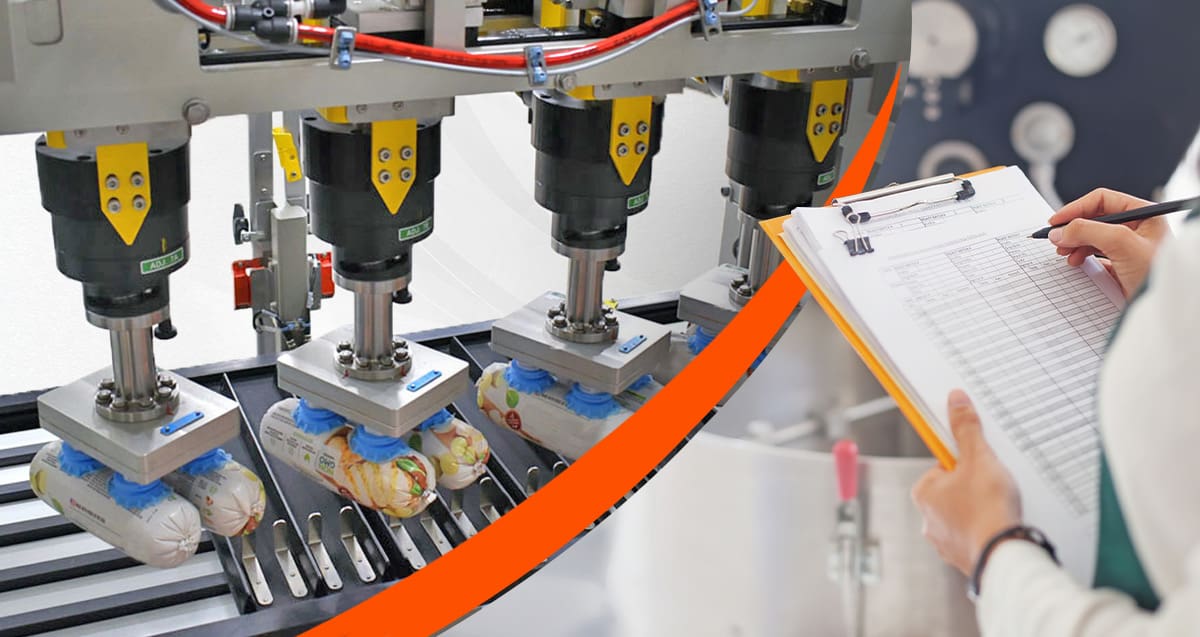
Introduction
When an application engineer or sales manager is working with your team to size up a case packing project, one of the most important things an OEM can do is align the machine design to what you actually need the system to accomplish — not what a “default” configuration can do.
At Douglas, when we’re aligning our team around a side-load case packing application, it’s common for us to carefully evaluate which infeed configuration best fits the specific demands of that project.
This is because there isn’t one “best” infeed. There are multiple designs that can all create a pack pattern and load it into a case — but each one makes different trade-offs in product control, changeover complexity, footprint, speed potential, and cost.
So when you hear options like tamp chain load chain, tamp chain shift deck, or tamp chain load deck, the goal isn’t to overwhelm you with terminology — it’s to identify the simplest (and most cost-effective) infeed that still delivers your intended outcomes.
In this article, we’ll break down:
By the end, you’ll know which configuration makes the most sense for your product and your budget.
What Is a Tamp & Load Infeed?
Before comparing types, let’s clarify the function.
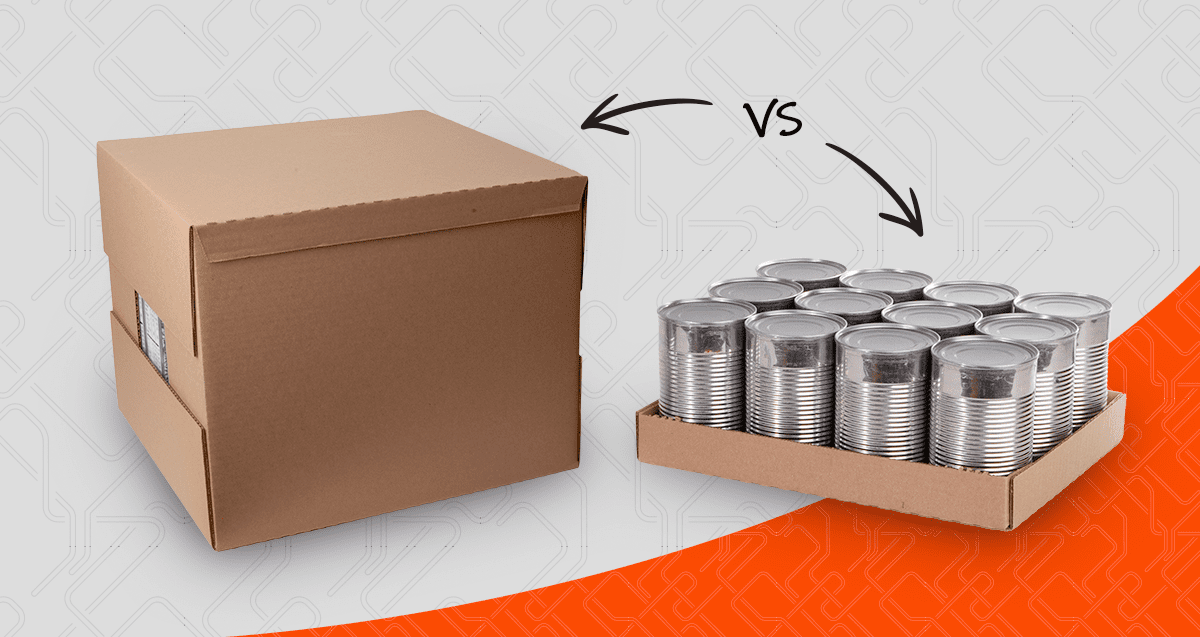
In a typical case packing system:
A tamp and load infeed takes individual product lanes, builds a complete pack pattern, and loads that pattern into a case.
All four configurations outlined below accomplish the same objective:
The differences come down to how each design manages product control, the level and type of automation involved, and the kinds of products it’s best suited to handle.
Now let’s break down each configuration.
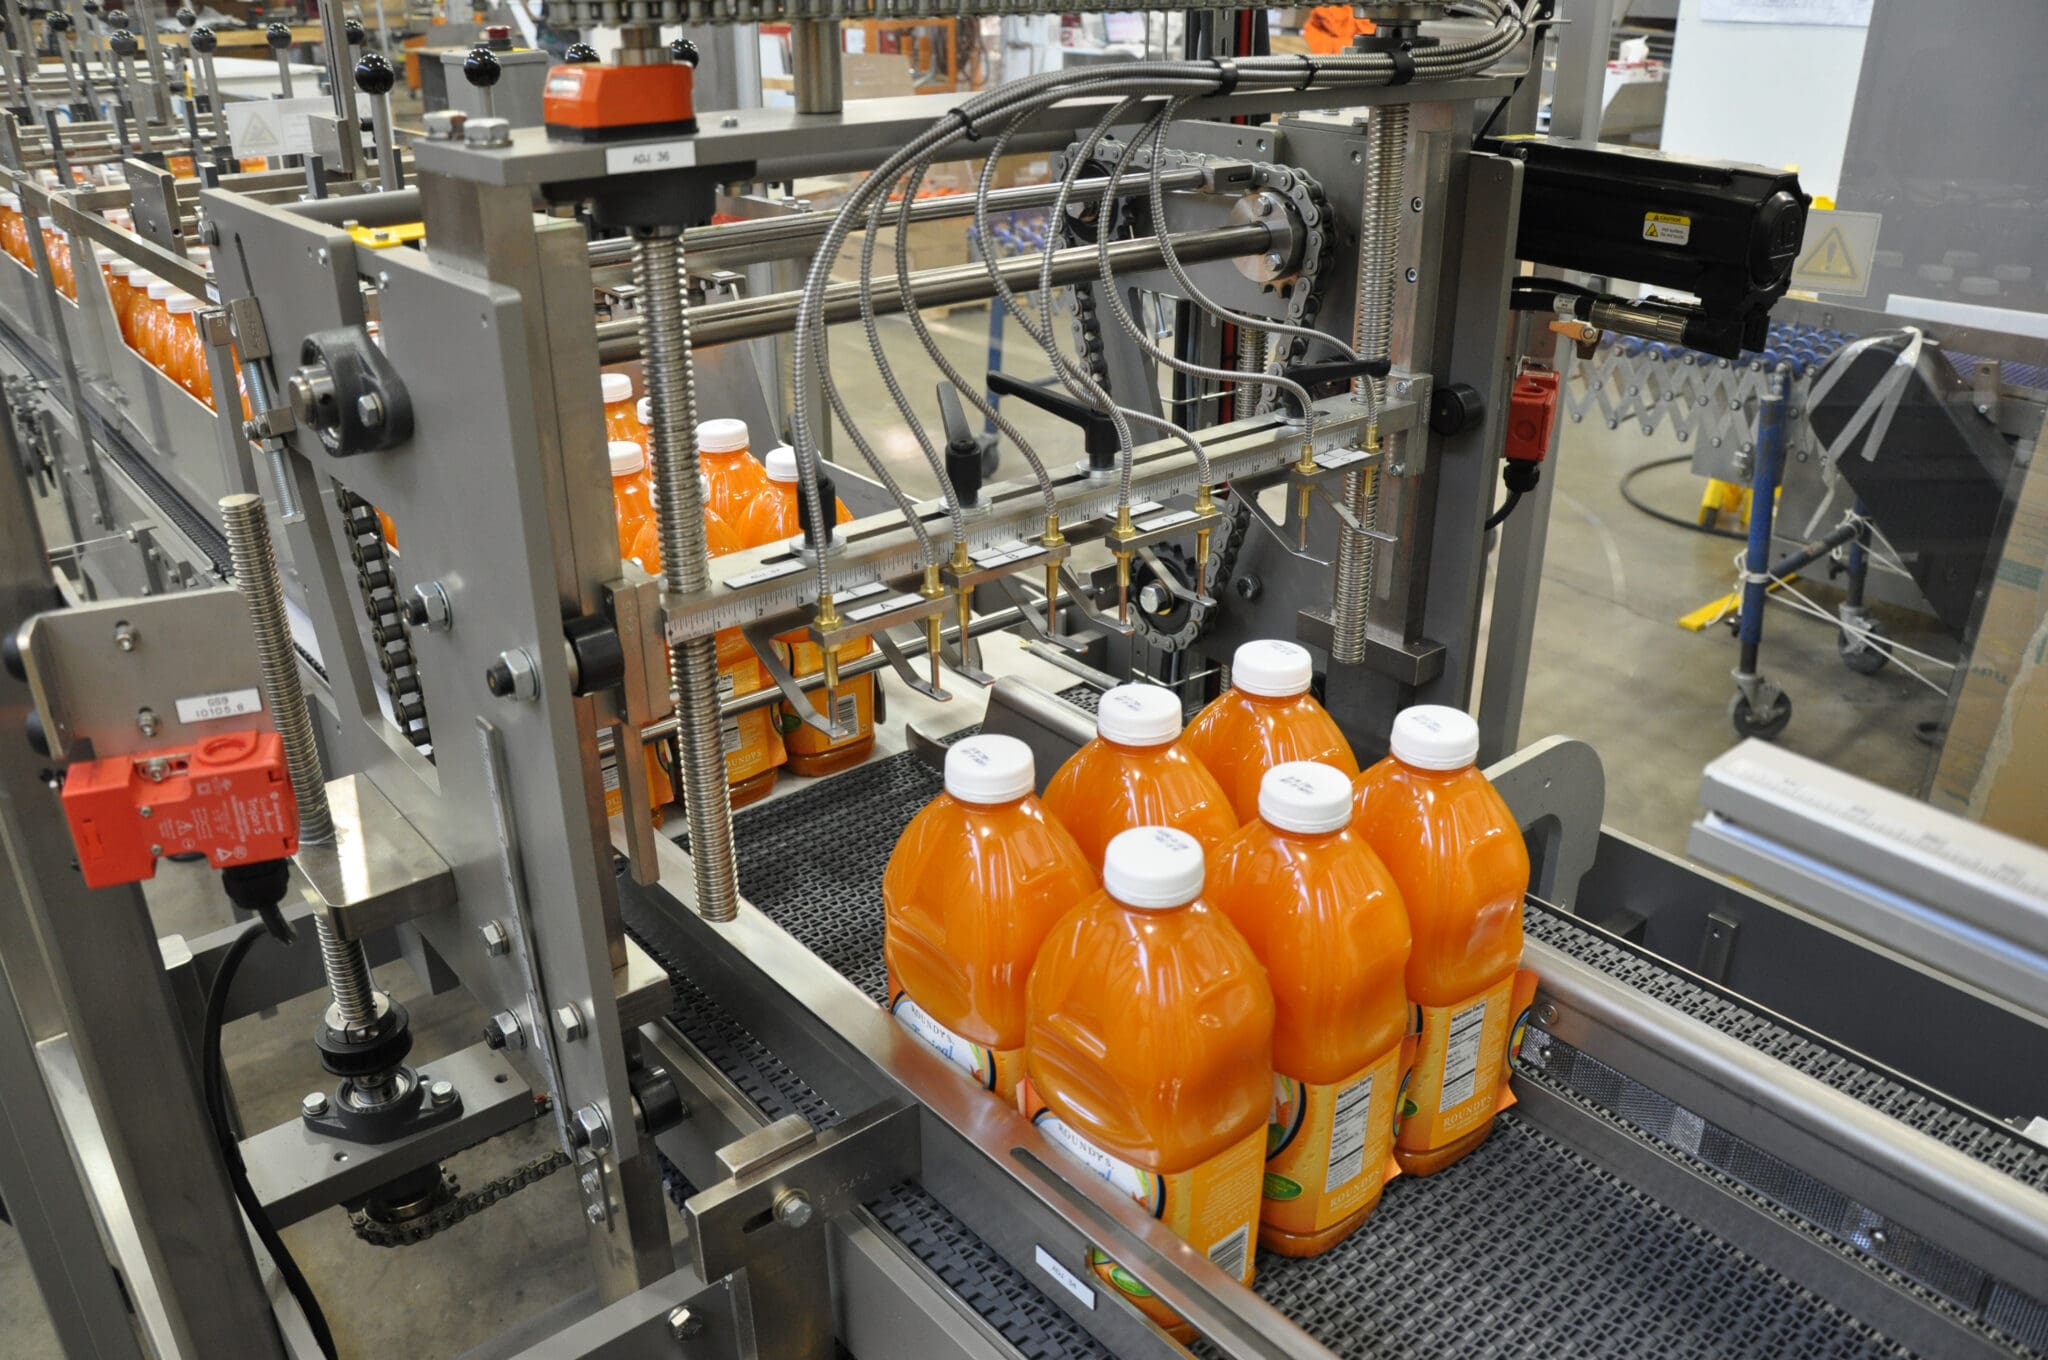
Configuration 1: Tamp Chain, Load Chain
Most Versatile, Highest Control
Best For
Speed
Up to 50 cases per minute (application dependent).
How It Works
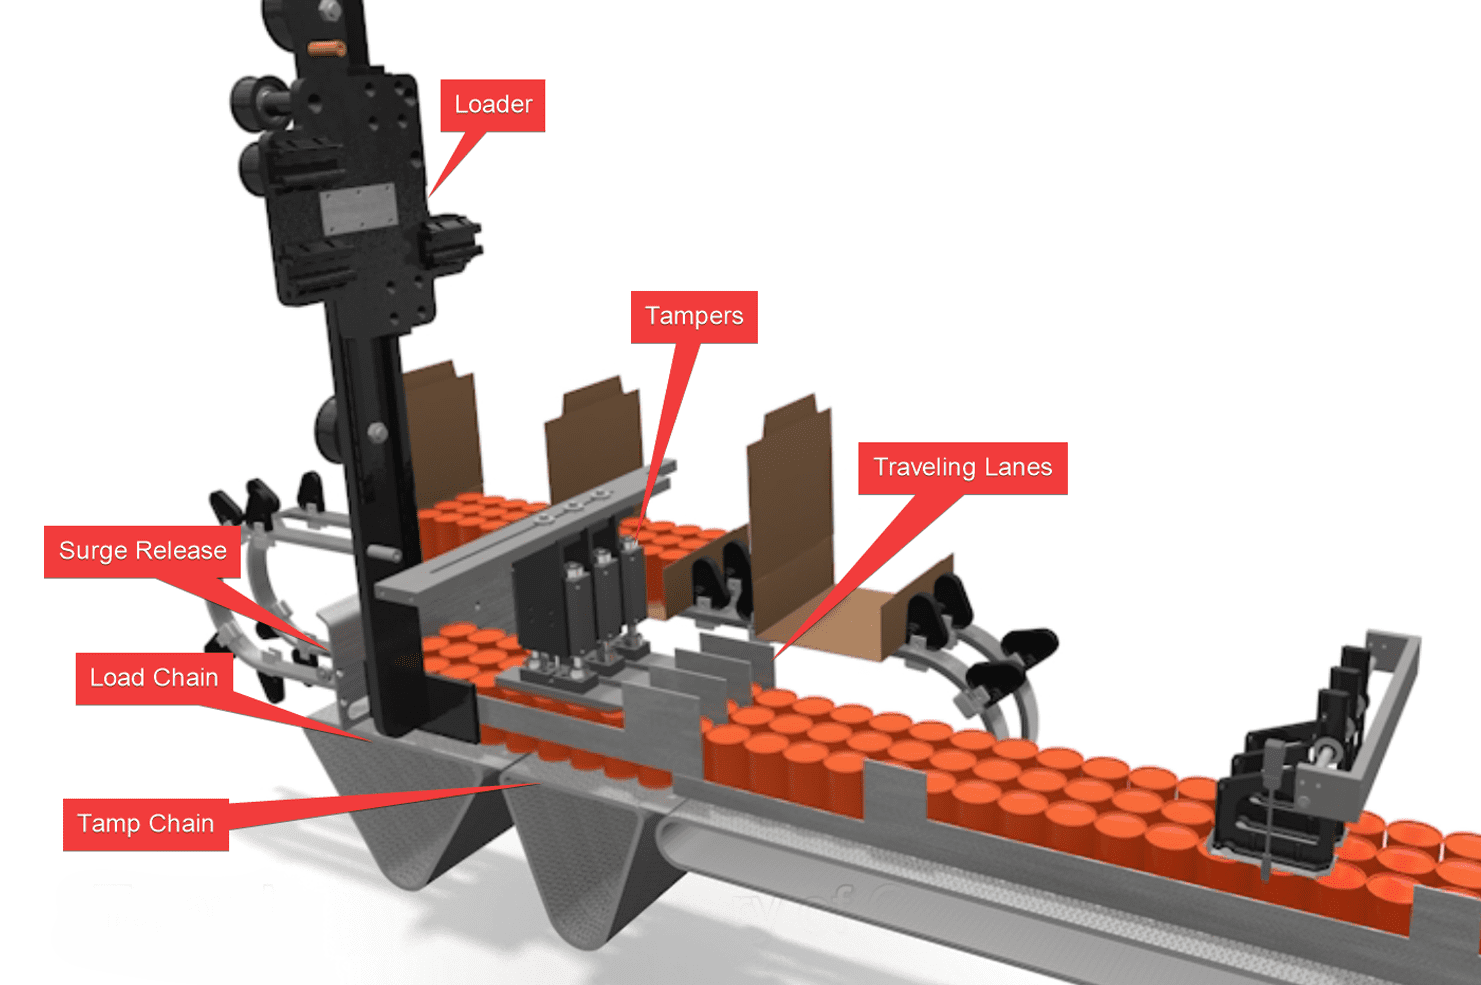
Key Feature: Traveling Lanes
For round or unstable product, you can add traveling lanes which move with the product while feeding onto the load chain to maintain lane integrity.
Note: This feature adds servos — and cost — but dramatically increases product control. The cost would add $35K–$40K to the price range below.
Cost Drivers
When to Choose It
Select a tamp chain load chain configuration when your application requires the highest level of product control or when high-frequency SKU changeovers make changeover efficiency a priority.
If your product is unpredictable, compressible, or difficult to contain, this is the safest and most forgiving solution. It’s also one of the higher-cost options — but often justified when product variability is high.
Configuration 2: Tamp Chain, Shift Deck
Lower Cost Alternative with Gap Creation
Best For
Speed
Up to 45 cases per minute.
How It Works
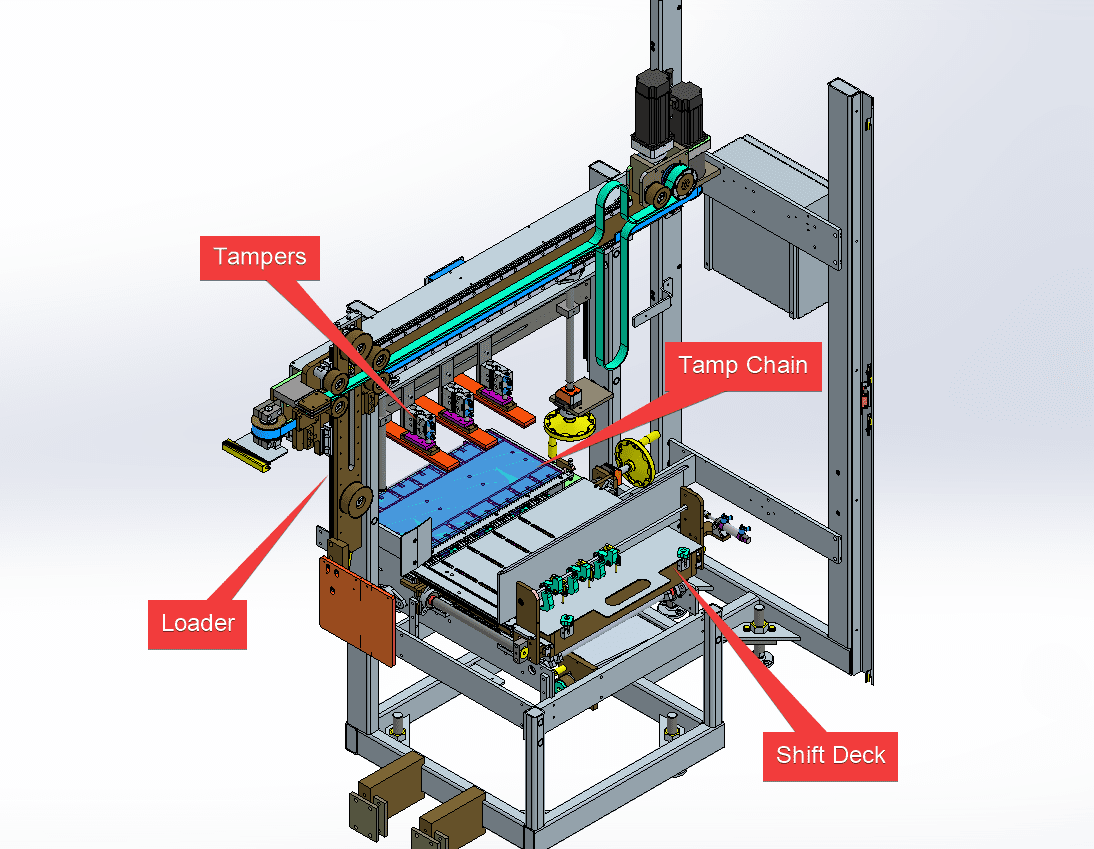
Key Difference
Instead of using a surge release and load chain, the deck itself shifts to create the gap.
Cost Drivers
Trade-Off
When to Choose It
This is a strong mid-tier option when product is stable and patterns don’t change frequently. This is a lower-cost option than a tamp chain load chain when you need a gap.
Configuration 3: Tamp Chain, Load Deck
No Gap Required, Faster with Rounded Product
Best For
Speed
Up to 50 cases per minute. Sometimes faster than tamp chain load chain with round product.
How It Works

Why This Works
Because product has rounded edges, it can slide across tamped product without catching. Sharp corners would jam, which is why this option is limited to rounded-edge product.
Cost Drivers
Advantage
With round product, pop-up guides can outperform traveling lanes, allowing higher speeds in some applications. This can make it both faster and less expensive than tamp chain load chain in the right scenario.
When to Choose It
This is the best option for round, rigid product due to its simple function and high speed ability.
Configuration 4: Tamp Deck, Load Deck
Lowest Servo Count, Longer Conveyor Required
Best For
Speed
Up to 50 cases per minute (application dependent).
How It Works
Key Difference
There is no tamp chain servo. However, to push product across the tamp deck, you need:
Cost Drivers
Trade-Off
When to Choose It
This can be the right answer when space is available and low cost is a priority.
Comparing the 4 Tamp & Load Infeeds
Tamp Chain, Load Chain
Squishy, surging, or shingling products
Up to 50 cycles per minute
~4
Yes
Minimal
$255K – $300K
Tamp Chain, Shift Deck
Stable square / round products
Up to 45 cycles per minute
~2
Yes
Moderate
$190K – $255K
Tamp Chain, Load Deck
Rigid, rounded products
Up to 50 cycles per minute
~2-4
No
Moderate to High
$180K – $235K
Tamp Deck, Load Deck
Rigid, rounded products
Up to 50 cycles per minute
1-3*
No
Moderate to High
$155K – $210K
*0 possible with low speeds
A Quick Note About Speed Limiters for These Infeeds
You’ve probably noticed in the explanations above that speeds are often ‘application dependent.’ This qualifier exists because three pack pattern dimensions can significantly impact infeed throughput:
1. Direction of Travel (DOT)
This is the length of the pack pattern in the direction the product is moving.
2. Across Machine
This is the width of the pack pattern across the conveyor.
This is often the biggest limiting factor.
3. Vertical (Product Height)
Taller products require the loader to lift higher on return strokes.
You’ll want to keep the dimensional characteristics of your pack patterns in mind as you work with your OEM to select the right infeed for your application.
How to Choose the Appropriate Infeed For Your Project
Start by asking:
The biggest mistake buyers make is defaulting to the most complex option when a simpler one would perform just as well.
While Tamp Chain, Load Chain might be appealing for OEMs or CPG manufacturers because “it works for everything,” in many cases it can also mean paying for control and sophistication that isn’t necessary.
Final Thoughts: Matching the Right Infeed to the Right Product and Application
If you’re evaluating tamp and load infeeds, you’re likely trying to balance:
The good news is all four configurations accomplish the same fundamental goal: building a consistent, loadable pack pattern.
The difference lies in how much control you need, how efficient you need your changeovers to be, and how much you’re willing to pay for it.
If you’re unsure which configuration fits your application, the next step is to map:
From there, you can narrow it down quickly.
If you’d like help evaluating your specific product and pack pattern, give us a call. Our team can walk through it with you to determine the most efficient — and most cost-effective — solution.
Looking for a collaborative partnership?
Give us a call. With over 60 years of industry experience, Douglas consultants can help you evaluate automation options and find a solution that builds operational confidence.